GIT Part1 DEVOPS ONLINE TRAINING
July 13, 2026 — LiveStream
🛒 Recommended gear on AmazonDisclosure: some links above are affiliate links — if you buy through them I may earn a small commission at no extra cost to you. Thanks for supporting the channel!
As an Amazon Associate I earn from qualifying purchases.
Diving into the world of DevOps? Yaar, the first thing you absolutely *have* to master, before you touch anything else, is Git. It's the backbone of modern software development, an indispensable Version Control System (VCS) that helps teams manage changes to their codebase efficiently and collaboratively. This comprehensive guide will walk you through the fundamental concepts and essential commands of Git, setting a strong foundation for your DevOps journey and making sure you’re well-equipped for any Git DevOps training.
Mastering Git isn't just about memorizing commands; it's about understanding the workflow, the philosophy, and how it empowers developers and operations teams to work together smoothly. Whether you're a fresh junior or an experienced engineer looking to solidify your Git for beginners knowledge, this deep dive into Git's core functionalities, from initialization to committing changes, will demystify one of the most powerful tools in the DevOps arsenal. We’ll explore the crucial role of Git in DevOps, ensuring your code management is robust, trackable, and collaborative.
Why Git? Understanding Version Control in the DevOps Landscape
Chai pe charcha karte hain, boss. Before we jump into the commands, let's understand *why* Git is such a big deal, especially in DevOps. Back in the day, or even in some old-school setups, developers would just copy folders, maybe name them "my_code_final" or "my_code_final_final_really_this_time." Sounds familiar? Haha! That's a recipe for disaster, confusion, and lost work.
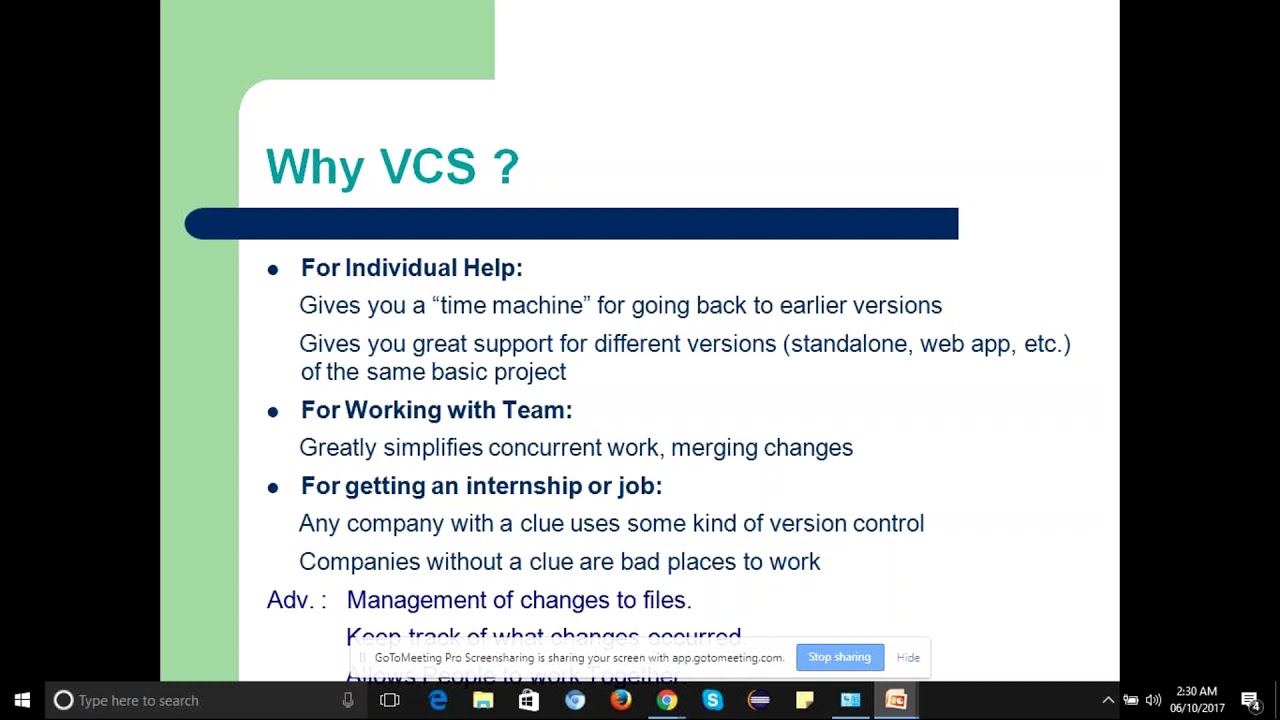
This is where Version Control Systems (VCS) come in. Imagine a magical system that keeps track of every single change ever made to your code. Who made it? When? Why? And if something goes wrong, you can instantly rewind to a previous, working version. That's VCS for you.
The Evolution of Version Control: From Centralized to Distributed
Historically, we had Centralized Version Control Systems (CVCS) like SVN or CVS. Think of it like a single, central library where everyone checks out books, makes changes, and then checks them back in. The problem? If that central server goes down, no one can work. And if you’re offline, you’re out of luck. Also, conflicts were often a headache to resolve.
Then came Distributed Version Control Systems (DVCS), and Git is the king here. With Git, every developer gets a complete copy of the entire repository history on their local machine. This is a big deal, yaar:
- Offline Productivity: You can work on your code, commit changes locally, and review history even without an internet connection.
- Speed: Most operations are local, making them incredibly fast.
- Resilience: If the central server (like GitHub or GitLab) goes down, everyone still has a full copy of the project history. Recovery is much easier.
- Branching and Merging: Git’s model for branching and merging is incredibly powerful and efficient, allowing for parallel development without stepping on each other's toes.
Git's Indispensable Role in DevOps
Now, how does this tie into DevOps? DevOps is all about collaboration, automation, and rapid, reliable delivery. Git is the glue that holds much of this together:
- Source Code Management: It's the primary system for managing all your application code, configuration files, infrastructure-as-code (IaC) scripts, and even documentation.
- Collaboration: Multiple developers, QA engineers, and operations personnel can work on the same codebase simultaneously, knowing that Git will help manage conflicts and merge their contributions.
- Traceability and Auditability: Every change, every commit, every merge is recorded with author, timestamp, and a message. This provides a complete audit trail, crucial for debugging, compliance, and understanding "who changed what and why."
- CI/CD Pipelines: Git is the trigger for most CI/CD pipelines. A push to a specific branch can automatically kick off builds, tests, and deployments.
- Rollbacks: If a new deployment breaks production, Git allows you to quickly revert to a stable previous version, minimizing downtime.
- Infrastructure as Code (IaC): Your Terraform, Ansible, or Kubernetes manifests? They live in Git. Managing infrastructure like code brings all the benefits of version control to your operations.
Samjha? Git isn't just a tool; it's a fundamental paradigm shift for how teams manage their intellectual property and collaborate effectively. It’s the starting point for any serious DevOps online training.
Getting Started with Git: Installation, Configuration, and Your First Repository
Okay, enough philosophy! Let's get our hands dirty. The first step in your Git journey is installing it and telling Git who you are. This setup is crucial because every commit you make needs to be attributed to you.
Installing Git on Your System
Git is available on pretty much every operating system. Here’s how you’d typically install it:
After installation, open your terminal (Git Bash on Windows) and type `git --version` to verify it's installed correctly.
Initial Git Configuration: Telling Git Who You Are
This is important, my friend. Every commit you make will carry your name and email. So, set it up right away:
git config --global user.name "Your Name"
git config --global user.email "your.email@example.com"
- `--global`: This flag means these settings will apply to *all* your Git repositories on your system. You can set project-specific `user.name` and `user.email` without the `--global` flag if needed, but for starters, global is fine.
- Why is this important? It ensures proper attribution in the commit history, which is vital for team collaboration and code accountability.
You can verify your settings with:
git config --global user.name
git config --global user.email
git config --list
The `git config --list` command shows all your Git configurations, including core settings, aliases, and more.
Initializing Your First Git Repository (git init)
Alright, time to create our first version-controlled project! Navigate to a directory where you want to start a new project or an existing project that you want to put under Git's control. Let's create a new folder for our "DevOps Project".
mkdir devops_project
cd devops_project
git init
What just happened? The `git init` command initializes a new Git repository in the current directory. You'll see a message like "Initialized empty Git repository in /path/to/devops_project/.git/".
Behind the scenes, Git creates a hidden `.git` directory. This directory is the heart of your repository. It contains all the necessary objects, references, and configurations that Git uses to track your project's history. Never delete or tamper with the `.git` folder directly! This is where all the magic happens.
Now, your `devops_project` directory is a fully-fledged Git repository, ready to track changes.
The Git Workflow: Understanding the Three States (Working Directory, Staging Area, Local Repository)
This is perhaps the most crucial concept to grasp for any junior DevOps engineer learning Git. Git doesn't just immediately save every change you make. It has a specific workflow, a sequence of steps that ensures you commit exactly what you intend to. Think of it as a three-stage pipeline for your changes:
- Working Directory (or Working Tree): This is your actual project directory where you create, edit, and delete files. These are the files you see and work with every day. Any changes here are "untracked" or "modified" but not yet considered by Git for a snapshot.
- Staging Area (or Index): This is an intermediate area where you prepare changes for your next commit. You explicitly tell Git which modified files or specific changes within files you want to include in the *next* snapshot. Think of it as a "pre-commit" area.
- Local Repository: This is where Git permanently stores your project's history as a series of commits (snapshots). Once changes are committed, they are part of your project's official history on your local machine.
Samjha kya connection hai? You modify files in your working directory, then `add` them to the staging area, and finally `commit` them to your local repository.
Visualizing the Workflow
Let's create a file and see this workflow in action. Inside your `devops_project` directory:
touch README.md
echo "# My First DevOps Project" >> README.md
echo "This project will explore fundamental DevOps concepts." >> README.md
Now, you have a `README.md` file in your Working Directory. Git doesn't know about it yet beyond its existence.
Checking Status (git status)
The `git status` command is your best friend. It tells you the current state of your repository, showing which files are modified, staged, or untracked.
git status
You'll see output similar to this:
On branch main

No commits yet

Untracked files:
  (use "git add <file>..." to include in what will be committed)
        README.md

nothing added to commit but untracked files present (use "git add" to track)
This clearly shows `README.md` as an "Untracked file." Git knows it's there but isn't tracking its changes yet.
Staging Changes (git add)
To tell Git to start tracking `README.md` and to prepare its current state for the next commit, you use `git add`.
git add README.md
Now, if you check `git status` again:
git status
The output changes:
On branch main

No commits yet

Changes to be committed:
  (use "git rm --cached <file>..." to unstage)
        new file:   README.md
See? `README.md` is now in the Staging Area. It's "Changes to be committed." This means Git has prepared a snapshot of `README.md` *at this moment* to be saved permanently.
Pro-tip: You can use `git add .` to stage all changes (new files, modified files, deleted files) in your current directory and its subdirectories. Be careful with this, boss. Always check `git status` first to make sure you're not staging anything unintended.
Committing Changes (git commit)
Once your changes are in the staging area, the final step is to save them permanently to your Local Repository using `git commit`.
git commit -m "Initial commit: Add README.md for project overview"
- `-m`: This flag allows you to provide a commit message directly on the command line. A good commit message is vital! It should explain *what* changes were made and *why*. Think of it as a mini-summary for future you or your teammates.
After the commit, `git status` will show:
On branch main
nothing to commit, working tree clean
This means your Working Directory and Staging Area are clean – all tracked changes have been safely stored in your local repository. Shaabash!
Viewing Commit History (git log)
To see all the commits you’ve made, ordered chronologically, use `git log`:
git log
You’ll see detailed information for each commit:
- Commit Hash (SHA-1): A unique identifier for each commit (e.g., `commit 1a2b3c4d...`).
- Author: Your `user.name` and `user.email`.
- Date: When the commit was made.
- Commit Message: The message you provided.
This `git log` output is your project's history book. You can see who did what, when, and why. Very powerful for debugging or just understanding project evolution.
There are many options for `git log` to make it more readable:
- `git log --oneline`: Shows a compact version of the log (commit hash and message).
- `git log --graph --oneline --decorate`: Excellent for visualizing branches and merges (we'll cover this later).
Modifying Files and the Git Workflow Again
Let's make another change. Edit `README.md` or create a new file, say `main.py`:
echo "print('Hello, DevOps!')" > main.py
echo "This line is updated." >> README.md
Now, `git status` will show `README.md` as "modified" and `main.py` as "untracked."
git status
On branch main
Your branch is up to date with 'origin/main'.

Changes not staged for commit:
  (use "git add ..." to update what will be committed)
  (use "git restore ..." to discard changes in working directory)
        modified:   README.md

Untracked files:
  (use "git add ..." to include in what will be committed)
        main.py

no changes added to commit (use "git add" and/or "git commit -a")
See? Git is smart. It knows `README.md` was tracked, but has been modified since the last commit. `main.py` is entirely new.
To commit these changes, you follow the same pattern:
git add README.md main.py
git commit -m "Add main.py with a greeting; Update README with more details"
Always remember: Modify -> Stage (`git add`) -> Commit (`git commit`). This is the fundamental cycle of using Git locally.
Advanced Local Git Operations and Best Practices
While `git add`, `git commit`, and `git status` are your bread and butter, there are a few more commands and concepts that are super useful even at this foundational level. Dekho, boss, these aren't just for advanced users; understanding them now will save you a lot of headache later.
Viewing Differences (git diff)
What if you've made changes but can't quite remember what they were? Or you want to review them before staging? `git diff` is your friend.
- `git diff`: Shows unstaged changes in your working directory. These are the changes *before* you run `git add`.
- `git diff --staged` or `git diff --cached`: Shows changes that are currently in the staging area, waiting to be committed. These are changes *after* `git add` but *before* `git commit`.
This is extremely useful for reviewing your work and ensuring you're only committing what's intended. It helps maintain the quality of your commit history.
Unstaging Changes (git restore --staged or git reset)
Oops! Staged a file by mistake? Don't worry, you can unstage it.
If you have a file, say `temp_notes.txt`, that you accidentally `git add`ed:
git add temp_notes.txt
git status # Shows temp_notes.txt as "Changes to be committed"
To unstage it:
git restore --staged temp_notes.txt
Now, `git status` will show `temp_notes.txt` back as an "Untracked file" or "Changes not staged for commit" if it was already modified. This command is cleaner for un-staging than the older `git reset HEAD `. Both achieve the same result but `git restore` is the more modern approach.
Discarding Unstaged Changes (git restore)
What if you made some changes in your working directory, and you realize they're completely wrong or you just want to discard them and go back to the last committed version of the file?
git restore my_broken_file.py
Warning: This command is destructive! It will permanently discard all unstaged changes in `my_broken_file.py` and revert it to its last committed state. Use with caution. Always be sure before you hit enter, yaara!
Ignoring Files (.gitignore)
Not every file in your project directory needs to be tracked by Git. Think about compiled binaries (`.class`, `.o`), temporary files (`*.tmp`), log files (`*.log`), or sensitive configuration files (`.env`). These should be ignored.
You create a special file named `.gitignore` in the root of your repository (or in subdirectories). Inside this file, you list patterns of files or directories that Git should simply ignore.
Example `.gitignore`:
# Ignore compiled Python files
*.pyc
__pycache__/

# Ignore environment variables
.env
.flaskenv

# Ignore logs
*.log

# Ignore OS generated files
.DS_Store
Thumbs.db

# Ignore node modules for Node.js projects
node_modules/
Once you create and commit your `.gitignore` file, Git will stop nagging you about those ignored files as "untracked." This keeps your `git status` output clean and focused on actual source code changes. Super important for clean project management!
Understanding the HEAD
In Git, `HEAD` is a symbolic reference to the latest commit in the currently checked-out branch. When you commit, `HEAD` moves to point to that new commit. It essentially tells Git "this is where you are right now" in your project's history. Understanding `HEAD` is crucial for more advanced operations like rewinding history or detaching `HEAD`, which we will cover in subsequent Git lessons.
Best Practices for Committing
As a senior DevOps engineer, let me give you some gyaan on good commit hygiene:
- Atomic Commits: Each commit should represent a single logical change. Don't throw unrelated changes into one big commit. For example, a commit for "feature X" and another for "bug fix Y" should be separate.
- Clear Commit Messages:
- Subject Line: Keep the first line concise (50-72 characters), active voice, and describe *what* the commit does.
- Body (Optional but Recommended): Leave a blank line after the subject, then elaborate on *why* the change was made, what problem it solves, or any relevant context.
- Example:
feat: Add user authentication module

This commit introduces a new user authentication module using OAuth2.
It includes signup, login, and token refresh endpoints.
Addresses security requirements for API access.
- Commit Often, Commit Early: Don't wait until you've finished a massive feature. Commit small, logical chunks of work frequently. This makes it easier to track progress, revert specific changes, and prevents large, unmanageable merge conflicts.
By following these best practices, you contribute to a cleaner, more understandable project history, which is a huge benefit for team collaboration and maintainability – both core tenets of DevOps.
This "Part 1" of Git training covers the absolute essentials for getting started. We've explored why Git is crucial for DevOps, how to install and configure it, and the fundamental workflow of staging and committing changes to your local repository. In upcoming sessions, we'll dig into branching, merging, working with remote repositories (GitHub/GitLab), and collaborative workflows.
Key Takeaways
- Git is a Distributed Version Control System (DVCS) indispensable for modern DevOps, enabling efficient source code management, collaboration, and traceability.
- Installation and initial configuration (
git config --global user.name "Your Name", git config --global user.email "your.email@example.com") are foundational steps to attribute your work.
- The
.git directory is the core of your repository, storing all project history and metadata.
- The Git workflow involves three states: Working Directory (where you edit files), Staging Area (where you prepare changes with
git add), and Local Repository (where changes are permanently saved with git commit).
- Essential commands for local Git management include:
git status (check repository state), git diff (view changes), git restore (discard changes), and .gitignore (exclude untracked files).
Frequently Asked Questions
What is the difference between Git and GitHub?
Git is the version control system itself – the software you install on your computer to track changes in files. GitHub (or GitLab, Bitbucket) is a web-based hosting service for Git repositories. It provides a central place for teams to store their Git projects, collaborate, manage issues, and integrate with CI/CD pipelines. Think of Git as the engine and GitHub as the garage where you park and share your car (your code).
Why do I need to use git add before git commit?
The `git add` command stages your changes, meaning it selects specific modifications or new files from your working directory and prepares them for the next commit. This gives you granular control over what gets included in each commit. You might have several changes in your working directory, but you only want to commit a specific, logical set of those changes. `git add` allows you to craft precise, "atomic" commits, leading to a cleaner and more manageable project history.
What is a "commit hash" and why is it important?
A commit hash (or SHA-1 hash) is a unique, 40-character alphanumeric string generated by Git for every commit. It acts as a fingerprint for that specific snapshot of your repository, including its content, author, timestamp, and the hash of its parent commit(s). It's crucial because it allows Git to precisely identify, track, and retrieve any version of your project's history, ensuring integrity and enabling operations like reverting to previous states.
So, there you have it, a solid start to your Git journey in the DevOps realm. This foundational knowledge is crucial. Now, to truly internalize this and see these concepts in action with a hands-on approach, make sure to watch the full video on the @explorenystream channel. It’s part of a comprehensive DevOps online training series that will take you from a beginner to a pro. Don't forget to hit that subscribe button to keep up with more expert insights and practical guides!